How it’s made: Patch (Leather)
As a natural evolution after stitching, sewing and embroidery came the handicraft of leatherworking. With origins believed to be dated back as far as 4,000 BC, leather is one of the most ancient material that’s been widely used thanks to its strength and durability.
Nowadays, many companies and individuals are making efforts to steer away from materials sourced from animals. This is why a lot of leather patches use faux-leather made with polyurethane, commonly known as “faux-leather”, “vegan leather”, “artificial leather” or “PU leather”. Although PU leather is a popular choice, we’re seeing a trend with new plant-based leathers being created from pineapple leaves, nopal cactus or even mushroom. Our team is following the development of these materials to offer them as soon as possible.
To create custom leather patches, the first step is to select the type of leather we want to work with. There are various choices both with natural and artificial leather, although artificial leather offers the most choices in term of colors and textures.
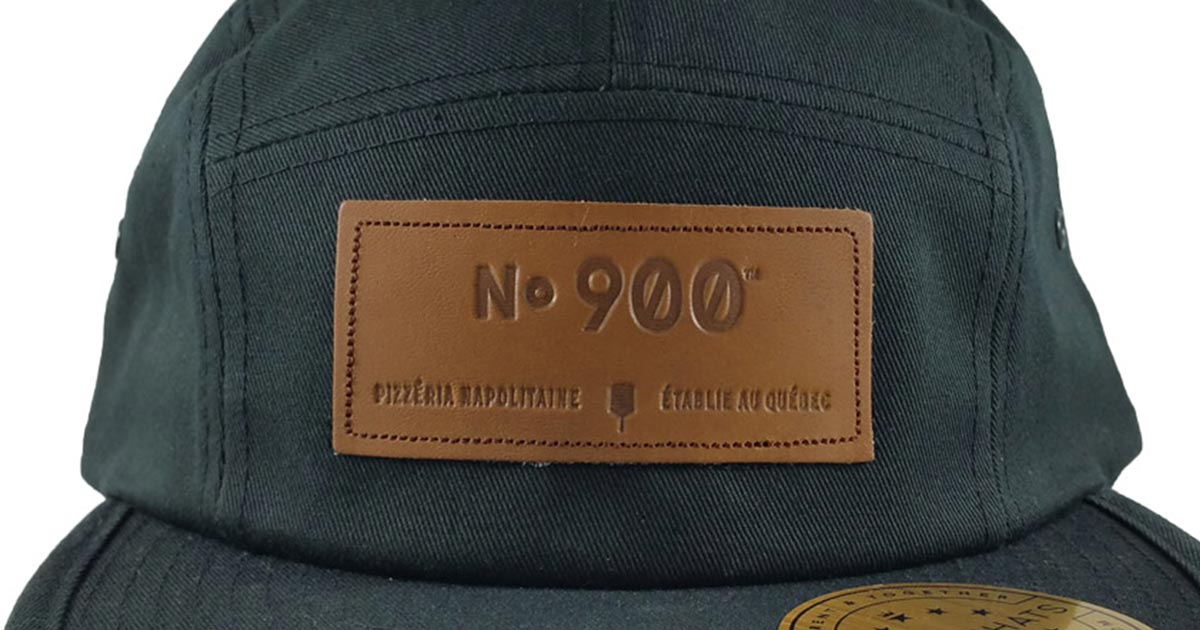
Once the base material is selected, your design has to be translated onto the leather (or faux-leather). The two most popular options to do that is to use either laser etching or embossing.
Laser etching is rather simple and consist of burning the surface of the leather using a controlled infrared laser to reproduce your design. The only required step is to convert your design into a production file the laser can read.
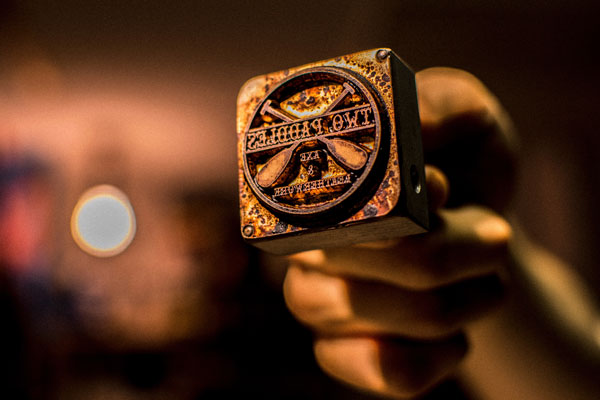
Embossing on the other hand is a little bit more complex and involves more steps. First of all, you have to make a metallic punch that will be used to emboss your design on the fabric. Various methods can be used here but there’s no way around the creation of the punch, which involves a setup cost.
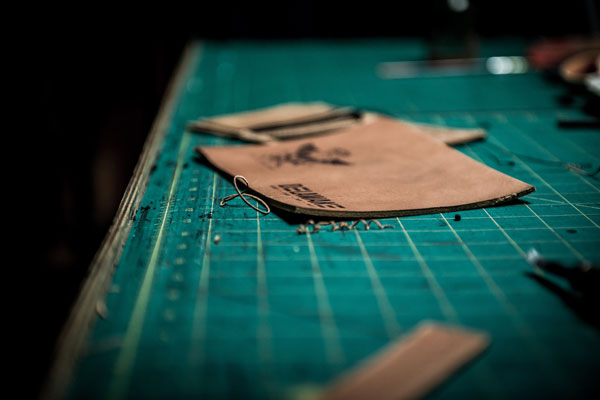
Once your design has been embossed, it’s time to cut your labels. Most modern leather shops will use a laser to die-cut each leather patch exactly in the shape you want. However, while it’s less practical, it’s also fairly common to use a die-cut punch as well during this step when shops do not have access to a laser bridge.
At this step, we have plain leather patches but they still need to be fixed on your hat. Just like for embroidered patches, sublimated labels and woven labels, we will start by adding an adhesive on the back of the patches. Then they can be positioned and fixed properly.
Unlike other patches and labels, leather patches may only be fixed using a running stitch border. This is because leather is too thick and wouldn’t support the tight stitching of a satin stitch border.


